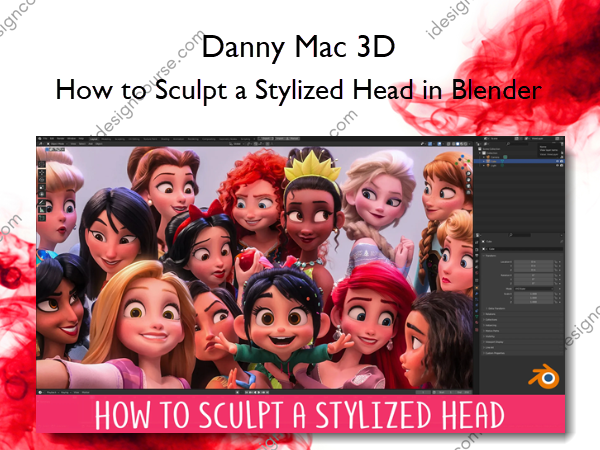
How to Sculpt a Stylized Head in Blender – Danny Mac 3D
$80.00 Original price was: $80.00.$32.00Current price is: $32.00.
»Delivery: Within 24 hours from payment
 How to Sculpt a Stylized Head in Blender Information
It’s time to Level Up!
You’ve probably been taught that sculpting the head starts with a sphere and ends with a head. That’s like reading a book without chapters! This unorganised approach makes the information more difficult to understand and retain.
This course takes a different approach by breaking the process up into 8 manageable levels. You can think of these levels like checkpoints, and each builds on the one before it. This organises what you need to do and takes away much of the stress that comes with the daunting task of sculpting a head!
Each level also becomes it’s own exercise, so you can really focus in on those areas you struggle most with!
References that Work
We all know the importance of using reference when working but 2D references are limiting, especially when you’re learning. Most of the time you have just a single image to work from. If you’re lucky you might have a character sheet that gives you Front, Side and 3/4 views. This is slightly better, but it’s far from ideal.
The problem is that when you work in 3D you need to know how the model should look from any percievable angle, otherwise it falls apart. Unfortunately, character sheets don’t include references showing the model 37° to the left and 23° tiilted downwards.
Having a 3D reference right there in the viewport removes any doubt by allowing you to rotate around the model however you like, whenever you like. I sincerely wish I had this when I was starting out.
Self Critique with Confidence
You know that critiques are invaluable when it comes to progression. However, you’re not always keen on the idea of showing people your work just yet, especially on social media where people can be… ruthless!
What 3D references allow you to do is very accurately compare your efforts with your goal. You can literally slide between your work and the reference to see where you got it right, and where you need to work on. Imagine how useful this will be to your improvement!
2D References
You will also be provided with 2D references of each from from a variety of different angles. These are very useful when you want to check a shape without moving your 3D references. They’re even more useful when used on a second screen!
Here’s what you’ll get:
Whats Included
- 8 Detailed Lessons (one for each shape)
- 8 3D Reference meshes (OBJ’s and contained in Blender Scene File)
- 8×26 2D reference images
- Scene files used for the final model
- How to Retopologise The Head in Blender
- How to model the Clothes and Jewellery
- How to Layout UV’s and Paint the Skin in Blender [mostly uploaded]
- How to Create Hair in Blender [mostly uploaded]
About Author
 Danny Mac 3D, also known as Danny Williams, is a prominent digital artist, educator, and content creator in the field of 3D art and design. He gained recognition for his popular YouTube channel, where he shares tutorials, tips, and insights into the world of 3D modeling, sculpting, and animation using software like Blender.
Danny Mac 3D has a passion for teaching and has developed a strong following by providing high-quality educational content for beginners and advanced users alike. His tutorials are known for their clear explanations, step-by-step demonstrations, and practical approach, making complex topics more accessible to learners.
Danny Mac 3D’s expertise lies in the Blender software, which is a popular open-source 3D creation suite. He has extensive experience working with Blender and has developed a deep understanding of its tools and capabilities. His tutorials often focus on Blender-specific techniques, workflows, and best practices.
Beyond his instructional content, Danny Mac 3D is an active member of the 3D art community, participating in events, collaborations, and industry discussions. He continues to inspire and educate aspiring artists through his engaging content and dedication to sharing his knowledge and passion for 3D art.
More courses from the same author: Danny Mac 3D
Salepage: How to Sculpt a Stylized Head in Blender – Danny Mac 3D
Related products
»Pre-Order
»Pre-Order
Graphic Design
»Pre-Order
»Pre-Order


