Beginner Motion Graphics with Fluid Simulation in Blender – Zac Farmer
$35.00 Original price was: $35.00.$14.00Current price is: $14.00.
»Delivery: Within 7 days
 Beginner Motion Graphics with Fluid Simulation in Blender Information
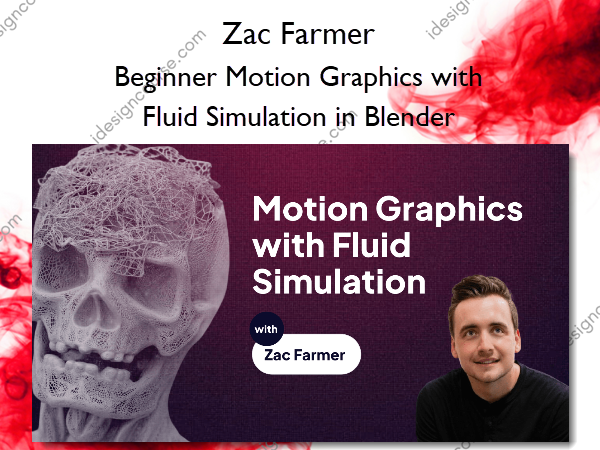
Beginner Motion Graphics with Fluid Simulation in Blender is designed to guide learners through the creation of professional motion graphics using Blender.
Create professional Motion Graphics easily with Blender Fluid Simulations and Geometry Nodes
In this module, you will learn how to utilize Blender in order to create professional Motion Graphics. This course is will prepare you for client work and give you tips on continuing to create high quality animations.
What You’ll Learn In Beginner Motion Graphics with Fluid Simulation in Blender?
- Using Blender’s Fluid Sim
- Cinematic Lighting
- Camera Animations
- Geometry Nodes
Detailed program
What you can expect in your step-by-step journey for this course
01 Reference
Reference for the effect. We’ll be taking a close look at the reference for this particle simulation before jumping into Blender
02 Blender and Text
Blender text is simple but needs to be optimized for simulations. here we will take a look at how to do that while discussing its importance
03 Adding a Liquid Simulation
Creating a successful liquid simulation has a few steps. The first of these steps is adding the sim and then placing the domain and flow object correctly within the space.
04 Editing the Liquid Simulation
Now that we have a liquid simulation set up and ready we can start editing it to get the proper look that we want.
05 Baking and Exporting
Once we have the simulation worked out we can bake it and export as a ABC file
06 Import and Geometry Nodes
The juice of this effect is right here as we import the ABC we can add more control inside the Geometry Nodes
07 3D Camera
Before setting up animation or lighting I like to place the camera in the right spot so that we know where we will be focusing for our scene.
08 Lighting
With our camera set up we can start lighting our scene!
09 Materials
With the lighting established we can start working on the look of the particles in the material nodes
10 Render Effect 1
With everything together we can final render the first effect!
11 Animating the Camera 1
With our effect done we still have an additional scene form our reference that we can create. This scene is a close up view of our particles and logos.
12 Animating the Camera 2
we are animating our second camera for the close up effect
13 Animating the Camera 3
in this final stage we are animating our final camera and taking a close look at the flow of all the scenes together!
More courses from the same author: Zac Farmer
Salepage: Beginner Motion Graphics with Fluid Simulation in Blender – Zac Farmer
When will I receive my course?
You will receive a link to download your course immediately or within 1 to 21 days. It depends on the product you buy, so please read the short description of the product carefully before making a purchase.
How is my course delivered?
We share courses through Google Drive, so once your order is complete, you'll receive an invitation to view the course in your email.
To avoid any delay in delivery, please provide a Google mail and enter your email address correctly in the Checkout Page.
In case you submit a wrong email address, please contact us to resend the course to the correct email.
How do I check status of my order?
Please log in to iDesignCourse account then go to Order Page. You will find all your orders includes number, date, status and total price.
If the status is Processing: Your course is being uploaded. Please be patient and wait for us to complete your order. If your order has multiple courses and one of them has not been updated with the download link, the status of the order is also Processing.
If the status is Completed: Your course is ready for immediate download. Click "VIEW" to view details and download the course.
Where can I find my course?
Once your order is complete, a link to download the course will automatically be sent to your email.
You can also get the download link by logging into your iDesignCourse account then going to Downloads Page.
Related products
»Pre-Order
»Pre-Order
Graphic Design


