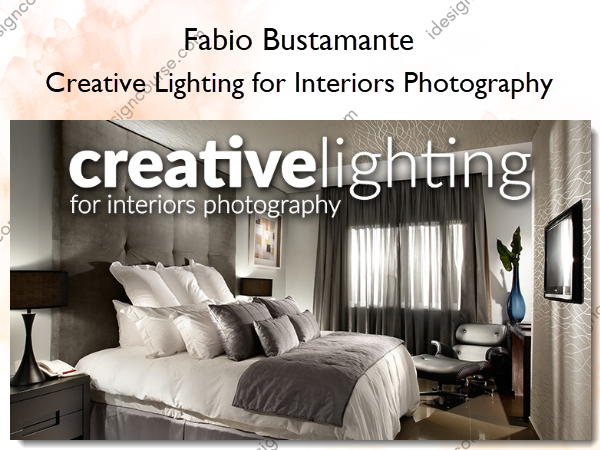
Creative Lighting for Interiors Photography – Fabio Bustamante
$120.00 Original price was: $120.00.$72.00Current price is: $72.00.
»Delivery: Within 7 days
 Creative Lighting for Interiors Photography Information
Become an expert in interiors photography!
What You’ll Learn In Creative Lighting for Interiors Photography?
- Introduction
- 01 – Hi! I’m Fabio, and this is my story.
- 02 – The Creative Lighting
- 03 – About Interiors Photography
- 04 – Challenges of Interiors Photography
- 05 – Interiors as Products
- 06 – Required Knowledge
- Equipment for Creative Lighting
- 07 – Shooting Equipment – part I
- 08 – Shooting Equipment – part II
- 09 – Shooting Equipment – part III
- 10 – The Bazooka
- 11 – Building the Bazooka
- 12 – The other tools
- Preliminary Concepts
- 13 – Keeping the client involved
- 14 – Framing and the advertising texture
- 15 – True space vs. less is more
- Getting Everything Ready
- 16 – A brief description of the technique
- 17 – Preparing the scene – part I
- 18 – Preparing the scene – part II
- 19 – Avoiding the most common traps
- Lighting and Shooting the Scene
- 20 – Introduction to the lighting process
- 21 – 1st step: the natural light
- 22 – 2nd step: the original light
- 23 – 3rd step: the creative light
- 24 – A new word for our glossary
- 25 – Back to Creative Lighting
- 26 – Shooting session – final thoughts
- Post Production
- 27 – Introduction to post production
- 28 – Harmonizing color temperature
- 29 – Photoshop screencast part I
- 30 – Photoshop screencast part II
- 31 – Case study: the bar
- 32 – Case study: the meeting room
- 33 – Your first solo flight
- Tips and Tricks
- 34 – Two scenes in one day
- 35 – Day, night, day for night
- 36 – Many frames vs. few frames
- 37 – Other tools: the Quartz Light
- 38 – Other tools: the Hand Spot
- 39 – Other tools: the Wand
- 40 – Creating amazing light effects
- 41 – Planning the shooting session – part I
- 42 – Planning the shooting session – part II
- 43 – Taking advantage of the unexpected
- 44 – Master diffuse and specular reflections
- 45 – In something moves in the scene
- 46 – Noise: make your photo smooth as silk
- 47 – Making reflective surfaces look beautiful
- 48 – Deciding when to stop
- 49 – Distortions: keystoning
- 50 – Correcting keystoning
- 51 – Distortions: barrel/pincushion
- 52 – Swiping with the bazooka
- Making the Room’s Layout Work for You
- 55 – Changing the room’s layout – case study I
- 54 – Changing the room’s layout – case study II
- 53 – Changing the room’s layout – case study III
- Support material
- PSD files – full version
- PSD files – compacted version
- Flattened files
- Bazooka blueprint
- Bazooka blueprint
- Photoshop Actions
- Conclusion
- 56 – Conclusion
More courses from the same author: Fabio Bustamante
Salepage: Creative Lighting for Interiors Photography – Fabio Bustamante
When will I receive my course?
You will receive a link to download your course immediately or within 1 to 21 days. It depends on the product you buy, so please read the short description of the product carefully before making a purchase.
How is my course delivered?
We share courses through Google Drive, so once your order is complete, you'll receive an invitation to view the course in your email.
To avoid any delay in delivery, please provide a Google mail and enter your email address correctly in the Checkout Page.
In case you submit a wrong email address, please contact us to resend the course to the correct email.
How do I check status of my order?
Please log in to iDesignCourse account then go to Order Page. You will find all your orders includes number, date, status and total price.
If the status is Processing: Your course is being uploaded. Please be patient and wait for us to complete your order. If your order has multiple courses and one of them has not been updated with the download link, the status of the order is also Processing.
If the status is Completed: Your course is ready for immediate download. Click "VIEW" to view details and download the course.
Where can I find my course?
Once your order is complete, a link to download the course will automatically be sent to your email.
You can also get the download link by logging into your iDesignCourse account then going to Downloads Page.
Related products
»Pre-Order
»Pre-Order
»Pre-Order


