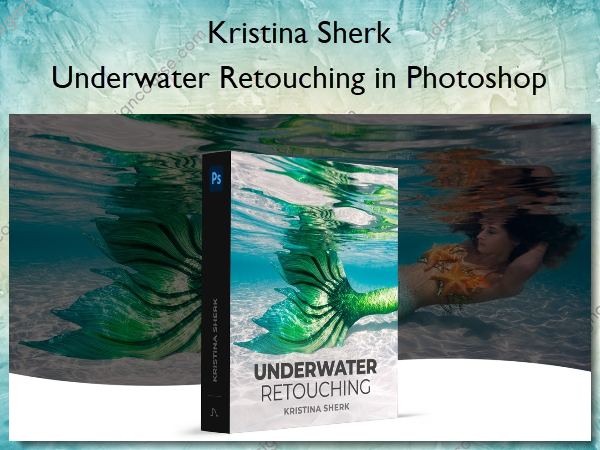
Underwater Retouching in Photoshop – Shark Pixel – Kristina Sherk
$97.00 Original price was: $97.00.$39.00Current price is: $39.00.
»Delivery: Within 7 days
 Underwater Retouching in Photoshop Information
Learn how to make underwater photos works of art.
The difference between a great underwater image that stops you in your tracks, and a lousy one is hands down, the post-processing. In this class I’ll lead you on a start to finish retouch showing you how to overcome these and bring a drab image back from the dead, transforming it into a stunningly gorgeous underwater portrait.
What You’ll Learn In Underwater Retouching in Photoshop?
Introduction
I’ll orient you to the course and what we are going to learn during this class. I’ll also show you how color is so crucial to the entire process.
Preparing the Image
Here I’ll walk you through step-by-step all the initial preparations and color correction to get our mermaid looking amazing from the get-go.
Enhancing Colors and Blending Elements
I show you how to fine-tune all the colors to get our mermaid’s skin to really pop and how to correct elements in the image and ensure they blend seamlessly.
Cleaning up and Removing Blemishes
In this lesson I’ll show you how to smooth out the skin and tail to remove blemishes, creases and imperfections caused by the water and sun.
Using Dodge and Burn
Dodge and Burn are two fundamentals of my workflow to really make my images stand out and here I’ll show you exactly how to use them on this image.
Adding Hair Volume
In this lesson I’ll teach you step-by-step how to add volume and shine to hair using the custom brushes I’ve included with this course.
Finishing Touches
While the image is already looking great, with some subtle color adjustments and additional details we can make it truly stand out and here I’ll show you how.
Conclusion
Final comments and summary of key points from the class to remember.
More courses from the same author: Kristina Sherk
Salepage: Underwater Retouching in Photoshop – Shark Pixel – Kristina Sherk
Related products
»Pre-Order


